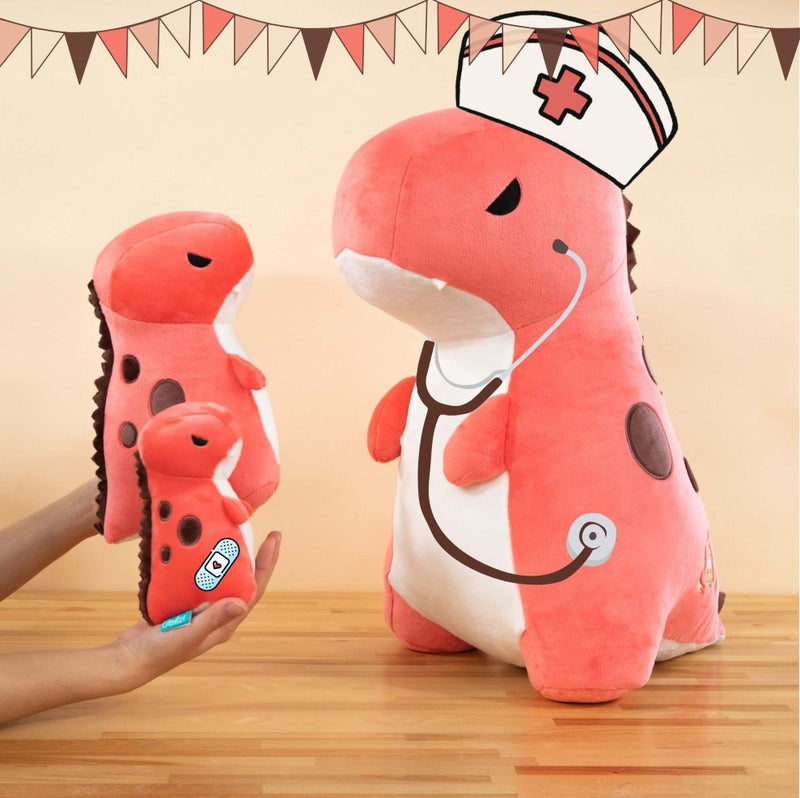
As a plushie lover, you know that accidents happen and tears in your favorite stuffed animals and plushies can be distressing. But fear not, for I, Dr. Cuddles (AKA: Rexxi), am here to share my expert advice on how to fix those tears and restore your beloved companions to their cuddly glory! So put on your lab coat, grab your needle and thread, and let's get to work on some plushie surgery!

Step 1: Assess the Damage
The first step in fixing a tear in a stuffed animal or plushie is to carefully assess the damage. Examine the tear and determine the size, location, and type of fabric of your patient. Is it a small tear on a seam, a larger rip in the body, or a hole in a delicate fabric? Understanding the extent of the damage will help you determine the best approach for the repair.
Step 2: Gather Your Supplies
As a seasoned stuffed animal doctor, I always have my trusty tools and supplies ready for action. You'll need a needle, thread, and scissors for sure. Choose a needle and thread that are appropriate for the size and fabric of the tear. For larger tears, you may also need some additional materials, such as fabric glue, patches, or replacement stuffing. And don't forget some patience and a steady hand!
Step 3: Prepare for Surgery
Once you have your supplies ready, it's time to prep your patient for surgery. Lay your plushie on a clean, flat surface and gently turn it inside out if possible. If there are any loose threads or stuffing, trim them away with scissors. Be careful not to cut any fabric or seams that are still intact. If the toy has any batteries or electronic components, remove them to avoid damage during the repair process.

Step 4: Stitch with Care
Now it's time to put your sewing skills to work! Thread your needle and make a knot at the end of the thread. Starting from one end of the tear, use a whip stitch, a ladder stitch, or a blanket stitch to carefully sew the edges of the tear together. Make sure to use small, even stitches and pull the thread tight, but not too tight, as you don't want to distort the shape of the toy. Continue sewing until you reach the other end of the tear, and then tie a knot to secure the thread.
Step 5: Reinforce and Patch (If Needed)
For larger tears or holes, you may need to reinforce the repair with additional stitches or fabric glue. You can also use patches to cover the tear and provide extra strength. Cut a patch from a fabric that matches the original plushie or choose a contrasting fabric for a fun look. Attach the patch to the back of the tear using small, even stitches or fabric glue. Be sure to secure it well and trim any excess fabric for a neat finish.
Step 6: Fill with Love (If Needed)
If the tear was large and you had to remove some stuffing to access the tear or if the filling inside the toy is lumpy or uneven, you may need to refill it with fresh stuffing. Use polyester fiberfill or repurpose old pillows or cushions to fill the toy back to its original shape. Carefully hand-stitch the opening closed using the same stitching technique you used for the repair.

Step 7: Recovery and Final Inspection
Congratulations, you've successfully performed plushie surgery! Take a moment to admire your handiwork and give your patient a gentle shake or squeeze to make sure everything feels secure. Trim away any excess thread or fabric, and give your plushie a final inspection to ensure that the repair is seamless.
Your plushie or stuffed animal friend may need some time to fully recover, we recommend placing them in a friendly and familiar environment. For example, Deeri may appreciate being near a familiar Deeri Pillow. If you happen to have an interested in furthering your plushie vet career, you can also keep notes on the patients initial injuries as well as the recovery process in notebooks such as these!


